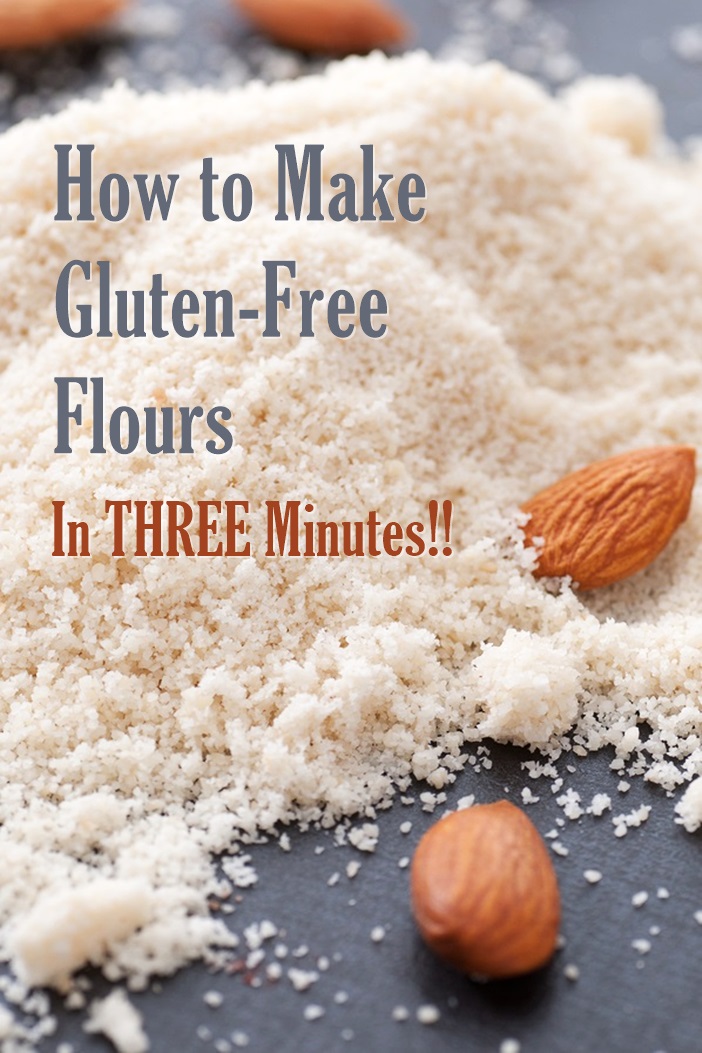
It’s hard to deny the convenience of wheat flour. One bag and you’ve got a million recipes at your fingertips. Venture even slightly into gluten-free recipes, and your grocery shopping list could double in length with various flours and starches. It gets especially frustrating when a recipe calls for just 1/4 cup of two or three different flours. Suddenly you’re investing in a $5 to $10 bag of millet flour or gluten-free oat flour that will sit, virtually untouched, for months and months. To avoid this issue, and to simplify my pantry, I learned how to make gluten-free flours at home in a pinch.
The Equipment to Make Gluten-Free Flours

![]() Yes, a flour mill will give you the most powdery result, and allow you pulverize even the toughest grains and legumes, but that requires an investment of kitchen space and money. Instead, you can use a spice / coffee grinder, the grinder attachment with a personal-size blender (just $20 to $30 if you don’t have one!), a food processor, or even a high power blender. I find that the grinder route actually works best, but ideally you want to use one that has at least 200 watts of power. Some are on the wimpier side at just 150 watts – they will grind the “easiest” options below, but may struggle beyond that.
Yes, a flour mill will give you the most powdery result, and allow you pulverize even the toughest grains and legumes, but that requires an investment of kitchen space and money. Instead, you can use a spice / coffee grinder, the grinder attachment with a personal-size blender (just $20 to $30 if you don’t have one!), a food processor, or even a high power blender. I find that the grinder route actually works best, but ideally you want to use one that has at least 200 watts of power. Some are on the wimpier side at just 150 watts – they will grind the “easiest” options below, but may struggle beyond that.
Best “Grains” to Make Gluten-Free Flours at Home
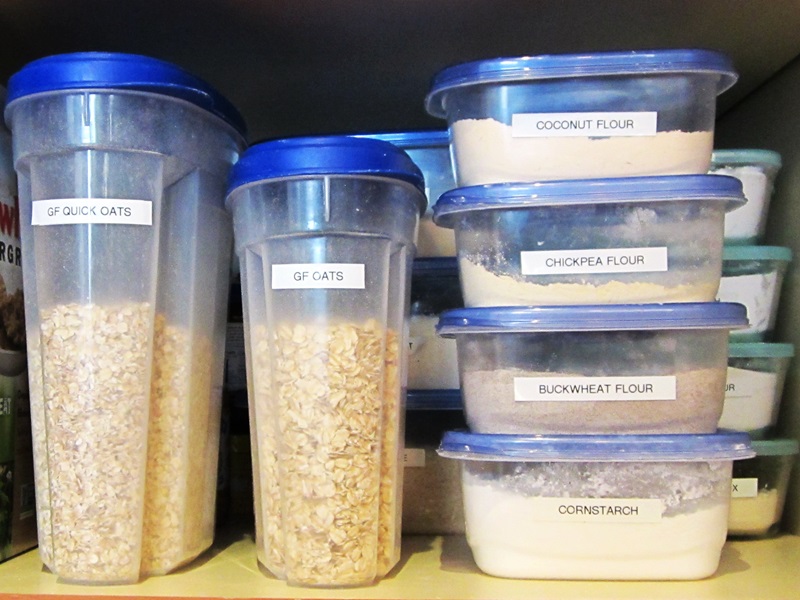
You might notice from my pantry picture (below) that I do still stock some pre-ground gluten-free flours and starches. Not all grains and legumes are easy to “flour” at home. For that reason, I have this little guide:
Easiest
These can be made with even the wimpiest of spice grinders; I always recommend making them at home.
- Oat Flour – Whole or quick gluten-free oats can be pulverized in just 30 to 60 seconds into very powdery flour.
- Cashew Flour – You may not hear of this one much in gluten-free recipes, though it is a staple for dairy-free recipes, but cashews are a beautifully soft nut that grinds up nicely. It doesn’t work as well in baking as almond flour, but still has its place. You may need to sift out some little nut buts, but typically 60 seconds of grinding does the job.
- Sunflower Seed Flour – Sunflower seeds also grind seamlessly. Like cashews, they work well in recipes but shouldn’t be relied upon when baking. I use them more for coatings or things like hearty cookies with other grain flours. Again, 60 seconds in the grinder usually gives you a slightly coarse but lightly ground seed flour.
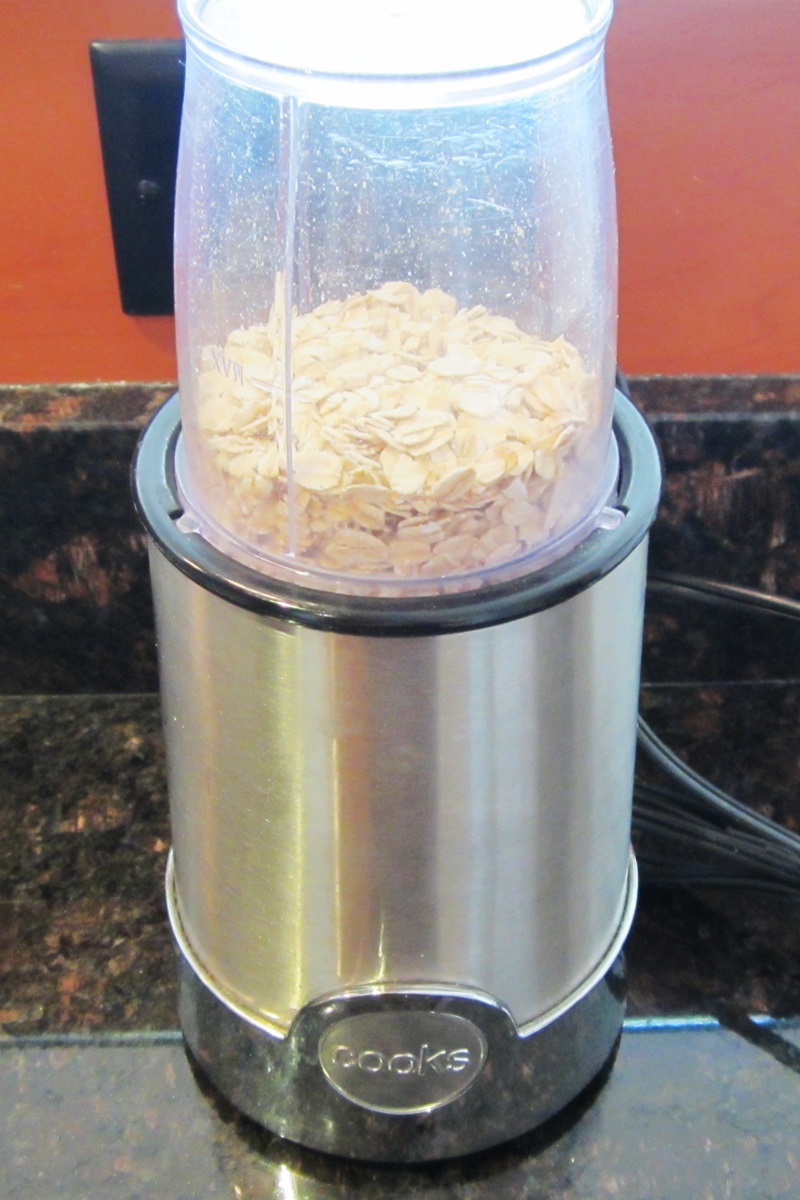 Oats Before
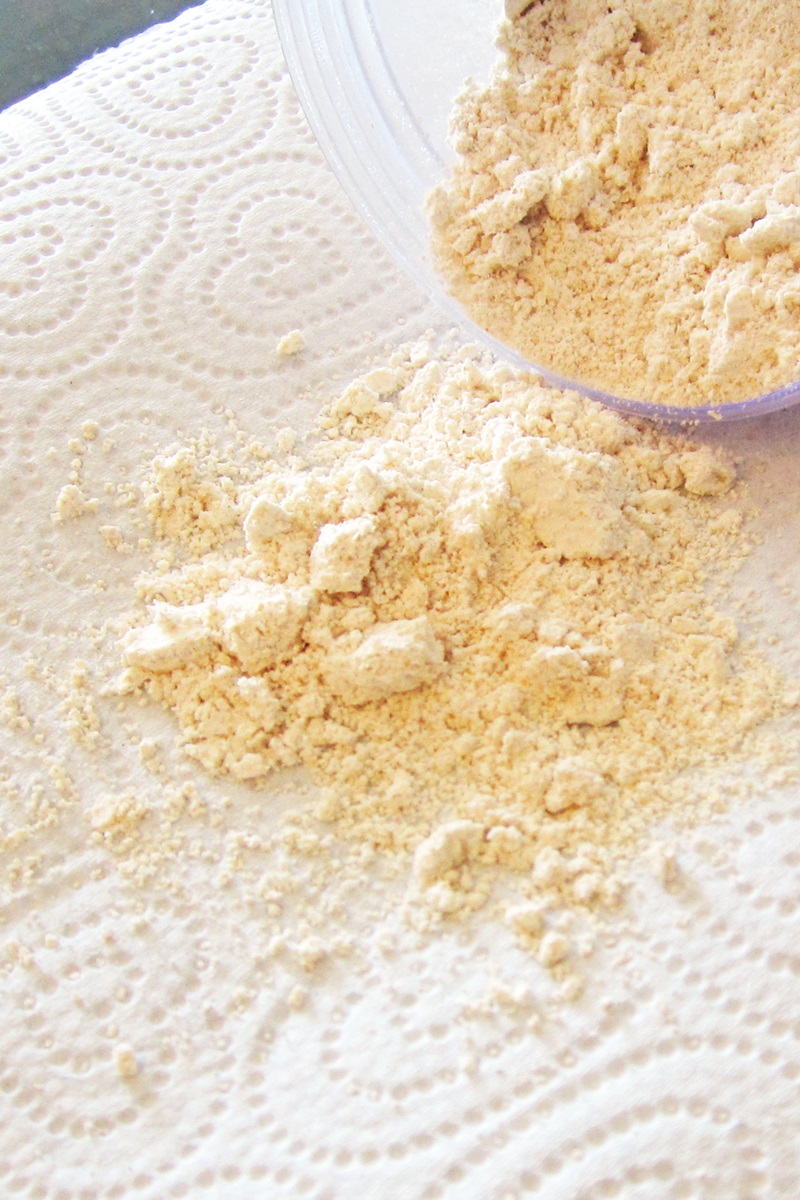 Flour After
Still Pretty Easy
The following can turn into nut or seed butter if you grind them for too long (stick to just 1 to 2 minutes, giving them a stir or shake 30 seconds in to avoid clumping on the sides. Grind just until they turn into coarse flour and not a second longer. To give you a few second window of opportunity, freeze the nuts before grinding.
- Almond Flour – You can go for fancier nut flour by using blanched almonds, but everyone here voted for the muffins made with un-blanched, home-ground almonds over the store-bought blanched stuff – no joke!
- Hazelnut Flour – Hazelnuts offer a different flavor profile, but with similar results to almond flour.
Definitely Doable
You’ll need those 200 or 250 watts plus for these coarse grains, but even my little spice grinder was able to tackle millet and quinoa. I sometimes buy buckwheat flour still, but most of my friends grind it at home. You may need those full 3 minutes of high power grinding to get a fine result. Keep in mind that millet, quinoa, and rice flours can all be slightly sandy, even store-bought.
- Millet Flour – The little grains actually pulverize well, and it is a great ingredient for whole grain breads – though you only need a little.
- Buckwheat Flour – Nutty, awesome, a must try.
- Quinoa Flour – Similar to millet, but slightly bitter.
- Rice Flour (White or Brown) – I’ve found this to be the toughest of grains, and have to let my little grinder rest a little, but it still works.
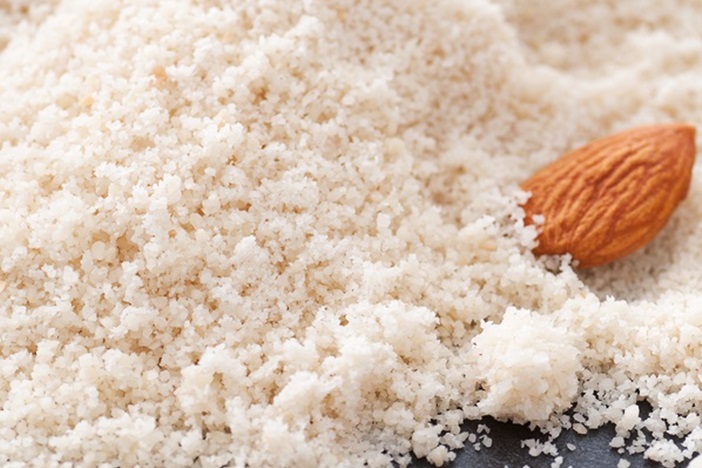
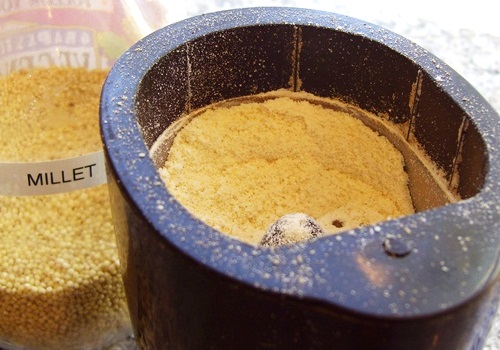 Millet to flour after 2 minutes in my little $10 spice grinder
For Convenience
For toastier or crunchier needs, I grind grainy cereals and skip the flours altogether! You can even crush them in a baggie with a meat mallet if you don’t feel like cleaning an appliance.
- Whole Grain Cereal – As you’ll notice, I always stock a whole grain gluten-free cereal. It is versatile for grinding to make an easy coating, no other flours required!
- Corn Flakes or Crispy Rice Cereal – Another great one for coatings, but can also be ground for using as some of the flour in recipes like muffins.
Too Tricky to Attempt
Some flours and starches are simply too hard to tackle or require extra processing that isn’t easy to do at home.
- Chickpea Flour – Nearly broke our grinder trying to do this one. A flour mill should be able to tackle it though.
- Coconut Flour – Coconut requires defatting to turn into flour.
- Starches – These are a different animal, but also fairly inexpensive to purchase. This includes corn, potato, arrowroot (pricier), and tapioca starches.
Why Grind your own Gluten-Free Flours?
- Buying the whole grains and nuts is much less expensive.
- Whole grains and nuts won’t go rancid as quickly as their flours.
- Whole grains and nuts are much more versatile – you can cook them as a side dish, use them whole in recipes, or grind them into flour.
- It helps to simplify your pantry! You will have one item instead of two in your cupboard and on your shopping list.
2 Comments
What brand of spice grinder do you use?
Kim, the actual spice grinder brand that I have has been discontinued, but I mostly use the spice grinder attachment on my personal blender. It is Cooks brand (JCP), but Bella is sold at Macy’s and Target and there is of course the Magic Bullet. All work well and are insanely convenient and easy to clean.