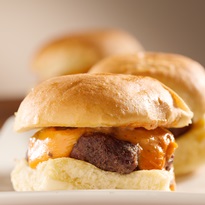
My husband got the idea of sliders stuck in his head for a party we were hosting, so I went to the stores to see my bun options. There was only one dairy-free brand available, and it was going to cost me $27 – just for the buns! I couldn’t do it. Instead I decided to bake my own dairy-free slider buns. They turned out perfectly tender and delicious, and they cost me … wait for it … less than $1.50 for 24 beautiful buns!

Freshly Baked Dairy-Free Slider Buns for Pennies!
These dairy-free slider buns ended up being the star of the food table. They’re flavorful and soft, but also quite sturdy. We didn’t toast them, and they still held up well. They didn’t crumble or dissolve when the sauces, veggies, and patties were piled on. Here is a bit more information on this recipe in an FAQ format.
Are these Sweet Buns?
They are not, which is why everyone loved them! I know some people like to use Hawaiian-style buns for sliders, but I think they overpower the savory fillings. The touch of sugar in these dairy-free slider buns just balances and enhances the overall flavor, but isn’t enough to make the overall taste sweet.
What is Vital Wheat Gluten?
You might know it simply as wheat gluten. It’s the key protein in wheat flour. Bread flour has more gluten than all-purpose flour, but you can mimic bread flour by adding vital wheat gluten to plain all-purpose flour. I find it cheaper and easier to do this rather than buying big bags of both all-purpose and bread flours for baking. Vital wheat gluten is sold in smaller bags, and is available in the baking aisle or online.
Is Bread Flour or Added Gluten Necessary?
You can technically make these dairy-free slider buns with all-purpose flour and without added gluten, but they will be more crumbly, and you might need a little more flour. Dairy-free breads have even less protein than ones made with milk, which isn’t a problem for some types of bread. But burger buns hold up better with wet toppings when they are made with a slightly higher amount of protein, which the bread flour or vital wheat gluten provides. The higher gluten also allows for more moisture absorption in the dough, leading to that wonderful pull-apart roll texture.
Should I Use a Specific Oil or Type of Butter Alternative?
I use Country Crock Buttery Sticks, because they’re inexpensive and readily available in my area. I also find the sticks to be versatile. But you can use your favorite brand of buttery spread or sticks. If you opt for oil, your favorite baking oil should work great. I like to use extra-light olive oil, which has a higher smoke point than extra-virgin olive oil.
Can I Make These as Regular Size Buns?
Definitely! Divide the dough into 8 to 12 balls – 8 for larger burgers, 12 for smaller burger buns. Shape them into rounds and proceed with the recipe. You can bake them at the same temperature, but they will need an additional 5 minutes or so of baking time. They should look nicely puffed and golden on top.
Do Dairy-Free Slider Buns Freeze Well?
Yes! I like to slice buns before freezing them. They can then be popped in the toaster (full size) or toaster oven (full size or slider size) for quick reheating. It’s harder to cut rolls when frozen and they don’t reheat as evenly when unsliced. Food keeps indefinitely in the freezer, but I recommend eating frozen bread within a couple of months. Texture is affected if frozen for too long.

Special Diet Notes: Slider Buns
By ingredients, this recipe is dairy-free / non-dairy, nut-free, peanut-free, soy-free, and vegetarian.
For egg-free and vegan slider buns, use 1 prepared powdered egg replacer, 1 chia egg, 3 tablespoons dairy-free yogurt, or 3 tablespoons aquafaba in place of the egg. In a pinch, you can omit the egg and just add 2 tablespoons of additional water.
- 1 cup warm water
- 2 ¼ teaspoons active dry yeast (equivalent to one .25-ounce packet)
- 3 cups all-purpose flour or bread flour, plus additional as needed
- 1 ½ tablespoons vital wheat gluten (omit if using bread flour)
- 1 ¼ teaspoons salt
- 1 egg (see post above for egg-free options)
- 3 tablespoons sugar
- 3 tablespoons melted dairy-free butter alternative or oil, plus additional for brushing
- Pour the warm water into a mixing bowl, and add the yeast. Let sit 5 to 10 minutes to proof. It should foam or bubble a bit. If not, your yeast might be inactive. Get fresh yeast and start again!
- While the yeast is proofing, whisk together the 3 cups flour, wheat gluten (if using), and salt in a large bowl.
- Add the egg, sugar, butter alternative or oil, and half of the flour blend to your mixing bowl with the water-yeast mixture. Mix (I use the dough hooks on my cheapy hand mixer) until mostly combined. Add the remaining flour blend and mix or stir until it comes together into a loose dough.
- The dough will be sticky. Add just enough additional flour, a couple tablespoons at a time until you can either knead it with your hands or with the help of a silicone spatula for 5 to 10 minutes. If you have a mixer with dough hooks, you can use that instead. But try to resist adding more than ¼ to ½ cup of additional flour.
- Lightly cover the dough and let it rise in a warm, draft free place for 1 hour, or until double in size.
- Punch the dough down. Line a jelly roll pan or baking sheet with parchment paper. Melt a little butter alternative (a couple tablespoons or so) or oil in a small bowl.
- Divide the dough into 24 portions (around 1.2 ounces each – though the exact weight will vary). Shape each portion into a round or ball.
- Place the dough pieces a couple inches apart on your baking sheet. Put them further apart if you don’t want them to touch while baking, closer if you don’t mind them touching.
- Leave them as rounds if you want narrower, taller buns, and brush the tops with the melted butter alternative or oil. For slightly wider, flatter buns (my preference), press your fingers in the melted butter or oil, and then press the dough balls down just a little, to make roughly 2-inch rounds.
- Lightly cover the baking sheet with plastic wrap, and place it in a warm, draft-free place. Let the dough rise for about 1 hour, or until double in size.
- Preheat your oven to 375°F.
- Bake the buns for about 12 to 15 minutes, or until lightly golden on top.
- Let the buns cool completely before slicing or storing. Store leftover buns in an airtight container or plastic bag for up to 3 days at room temperature, or slice and store in the freezer for longer keeping.
More Essential Dairy-Free Bread Recipes
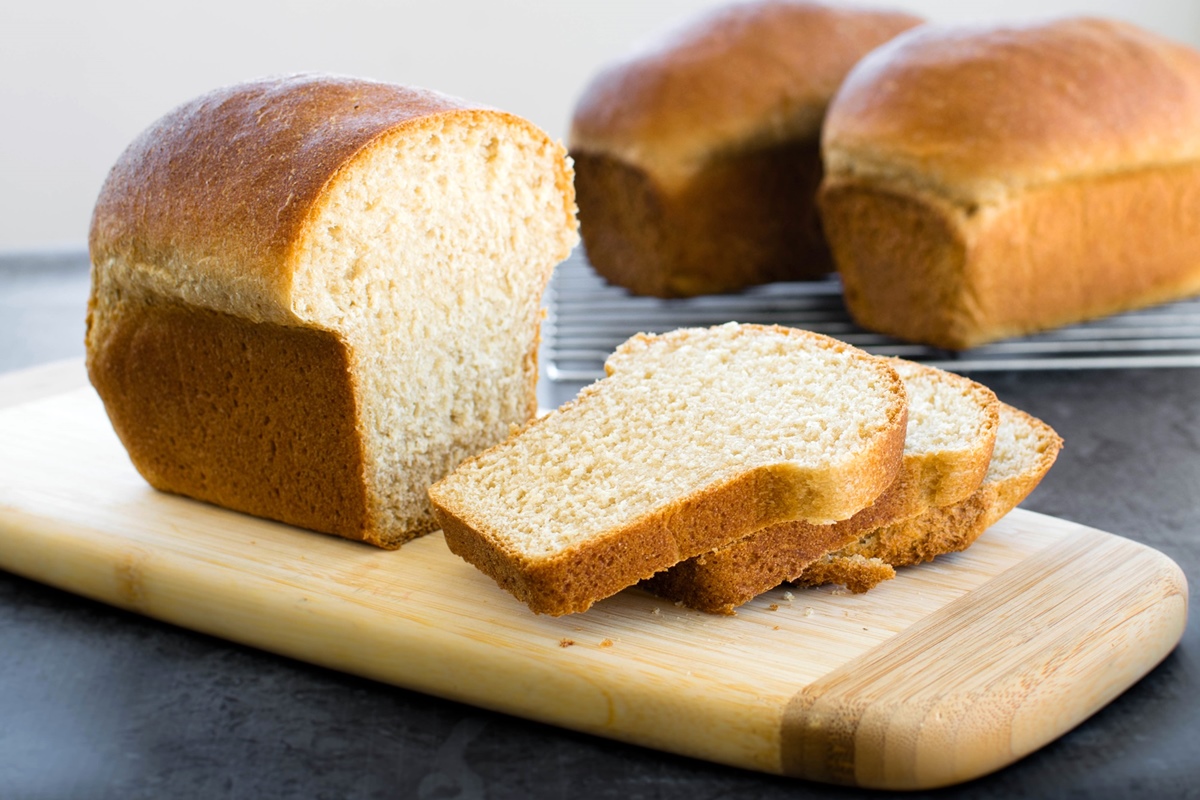
100% Whole Grain Bread
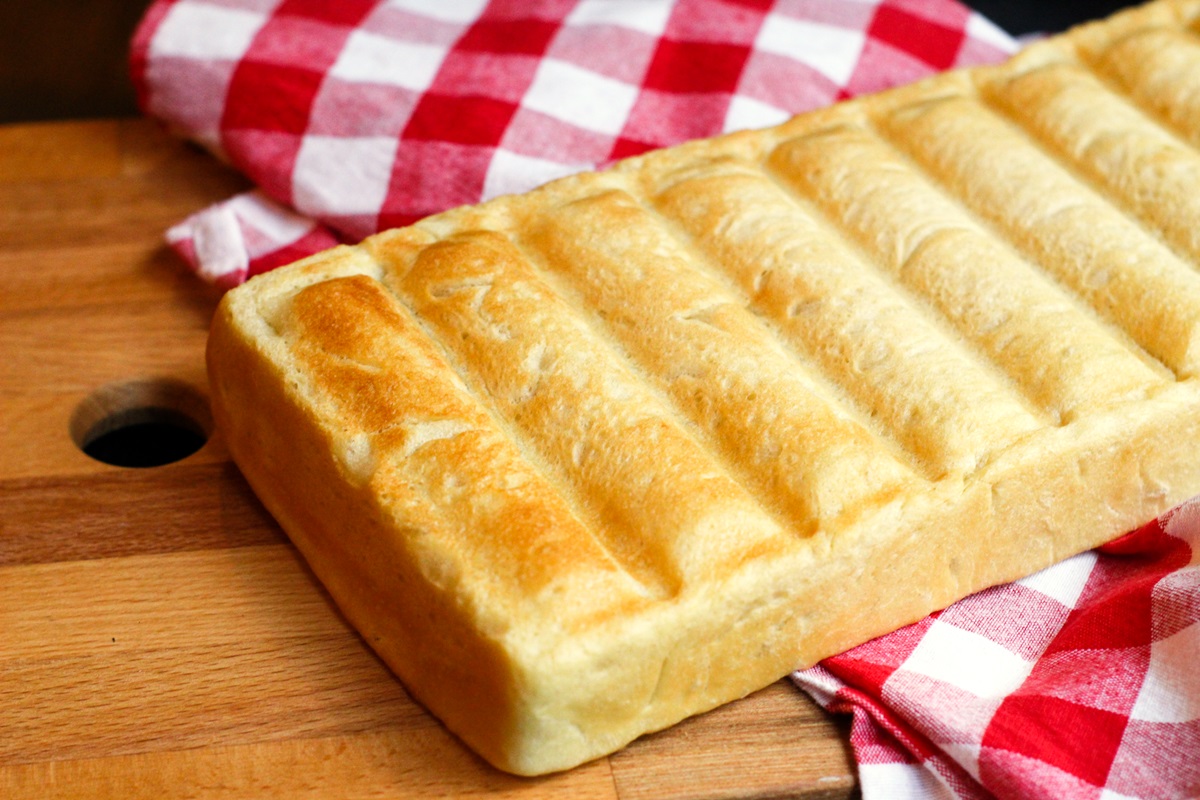
New England Hot Dog Buns
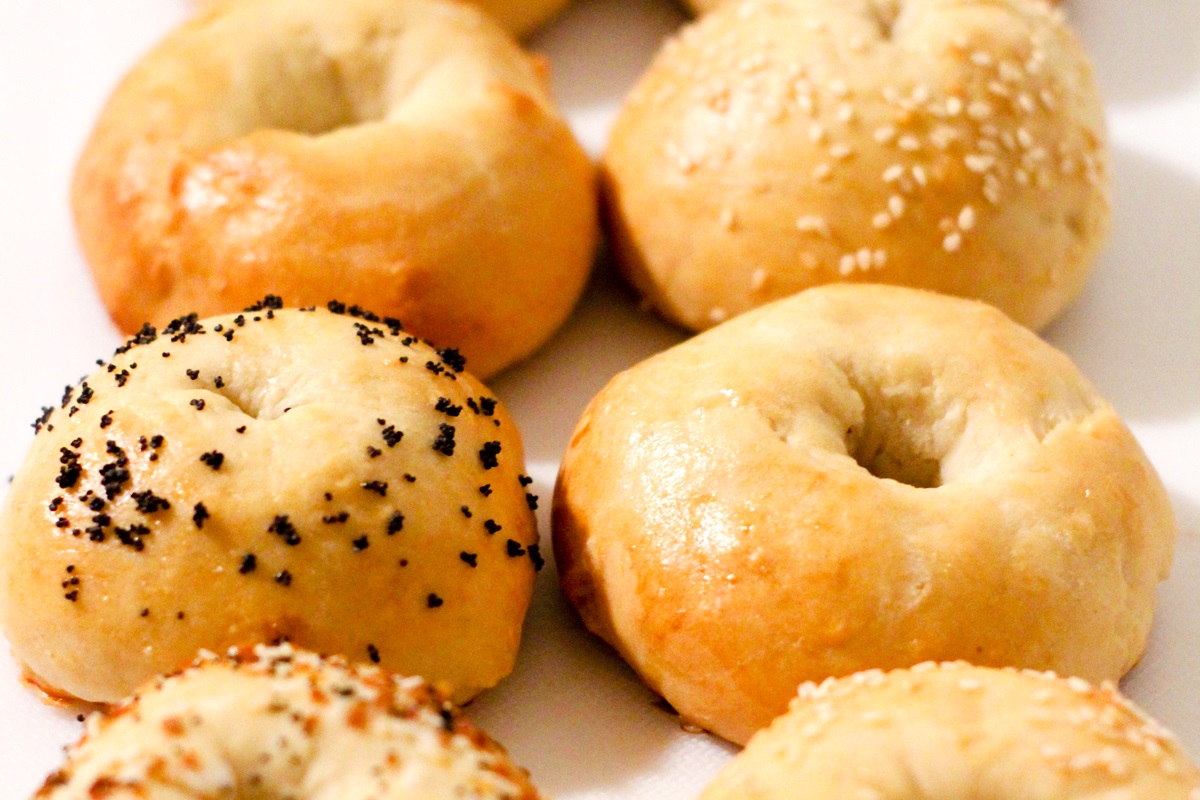
2 Ingredient Dairy-Free Bagels