I had wanted to share this recipe with you before Christmas, but we couldn’t fit it into the schedule. Fortunately, a pre-Easter post is the next best thing. I realize biscuits can (and should) be enjoyed any time of year, but this Paleo Biscuits recipe is a sample from Enjoy!, a cookbook focused on meals for holidays and special gatherings.
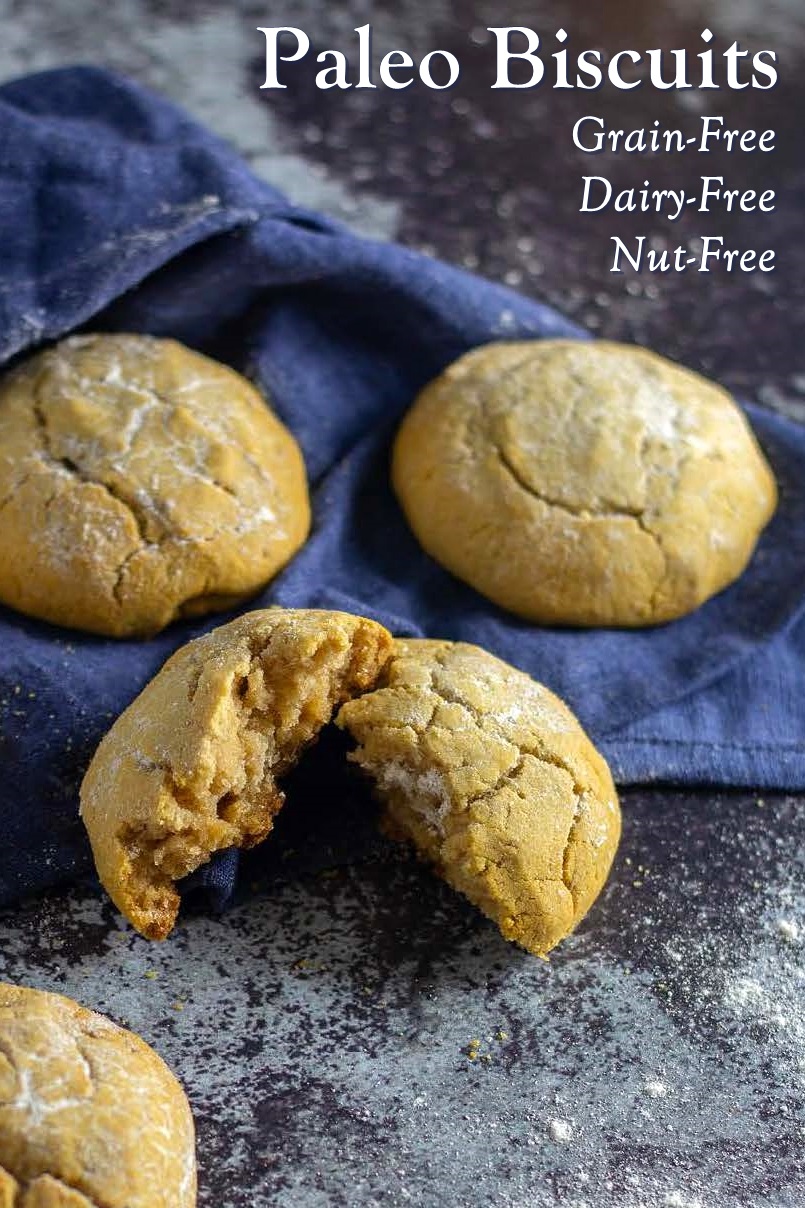
Paleo Biscuits to Enjoy without Dairy, Gluten, Grains, Nuts, and Soy
Enjoy! is the first cookbook by NYC Certified Health and Autoimmune Paleo coach, Annika Schimmer. It’s a full-color collection that features over 50 delicious recipes from appetizers, soups to main courses, sides, sweets and drinks that are grain-free, gluten-free, dairy-free, soy free, nightshade-free and paleo. Most recipes are also refined sugar free (or use less sugar versus their traditional counterparts), nut-free, egg-free and follow the Autoimmune Protocol (AIP).
 In 2013, Annika was diagnosed with an autoimmune disease (rheumatoid arthritis) but is today living medication and inflammation-free thanks to following the autoimmune protocol. Enjoy! is a result of Annika’s love of the holidays and persistence in recreating her favorite dishes so that others don’t have to feel deprived during these festive times and also avoid feeling bloated or unwell.
While this cookbook is for people who follow AIP, suffer from autoimmune disease, or have food restrictions, the recipes are for anyone who love food and is seeking a healthier lifestyle. This collection does have a wintry feel with sweet potatoes, cruciferous vegetables, and comfort meals galore. But it also many “anytime” options like Cured Swedish Salmon with Honey-Mustard Dip, Lemon Mousse with Raspberry Sauce, and these Paleo Biscuits.
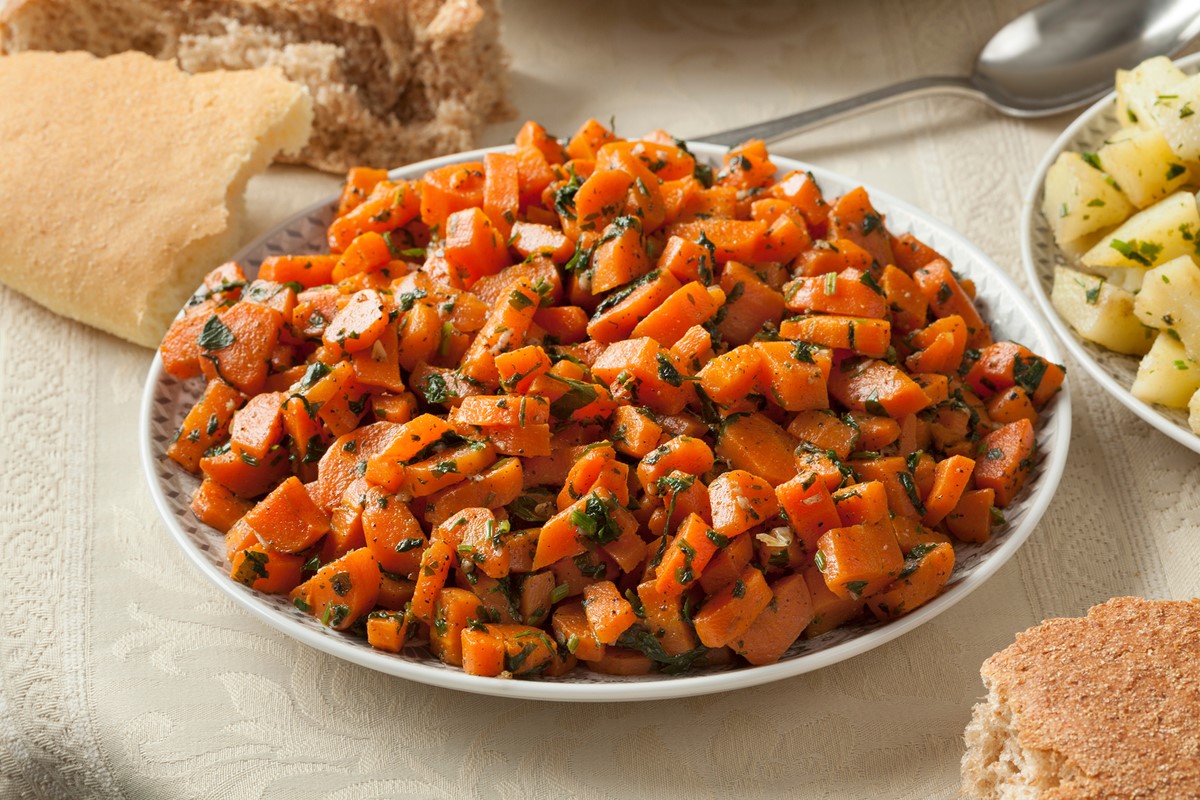
Enjoy these grain-free biscuits with my Dairy-Free Roasted Carrot Bisque Recipe for a paleo-friendly meal.
Special Diet Notes: Paleo Biscuits
By ingredients, this recipe is dairy-free / non-dairy, gluten-free, grain-free, nut-free, peanut-free, soy-free, and paleo-friendly.
For vegetarian paleo biscuits, try substituting coconut oil or sustainable palm shortening for the lard.
- ¾ cup cassava flour
- ¾ cup arrowroot flour / starch
- ½ tsp baking soda
- ½ tsp sea salt or himalayan pink salt
- ⅓ cup extra virgin olive oil
- 1 large egg + 1 large egg white (the author notes pasture raised)
- 2 tablespoons lard
- 1 tablespoon apple cider vinegar
- 1 tablespoon honey
- ¼ cup sparkling water (freshly opened)
- Mix the cassava flour, arrowroot flour, baking soda, and salt in a medium bowl with a whisk.
- In another medium bowl, combine the olive oil, egg, egg white, lard, vinegar, and honey and mix well using a whisk. The lard will still consist of bigger pieces that are not mixed with the rest, but don’t worry about that. Add the sparkling water and mix.
- Combine the flour mixture with the wet mixture until you have a smooth dough using a spoon first and once the consistency is thicker using your hands. Make sure you mix those lard pieces with the rest of the ingredients, but don’t work the dough too much.
- Form six small balls and place them on a baking sheet, pressing down slightly to create the right shape. Let them rest for 10 minutes.
- In the meantime preheat oven to 350°F.
- Bake for 20 minutes until slightly golden.
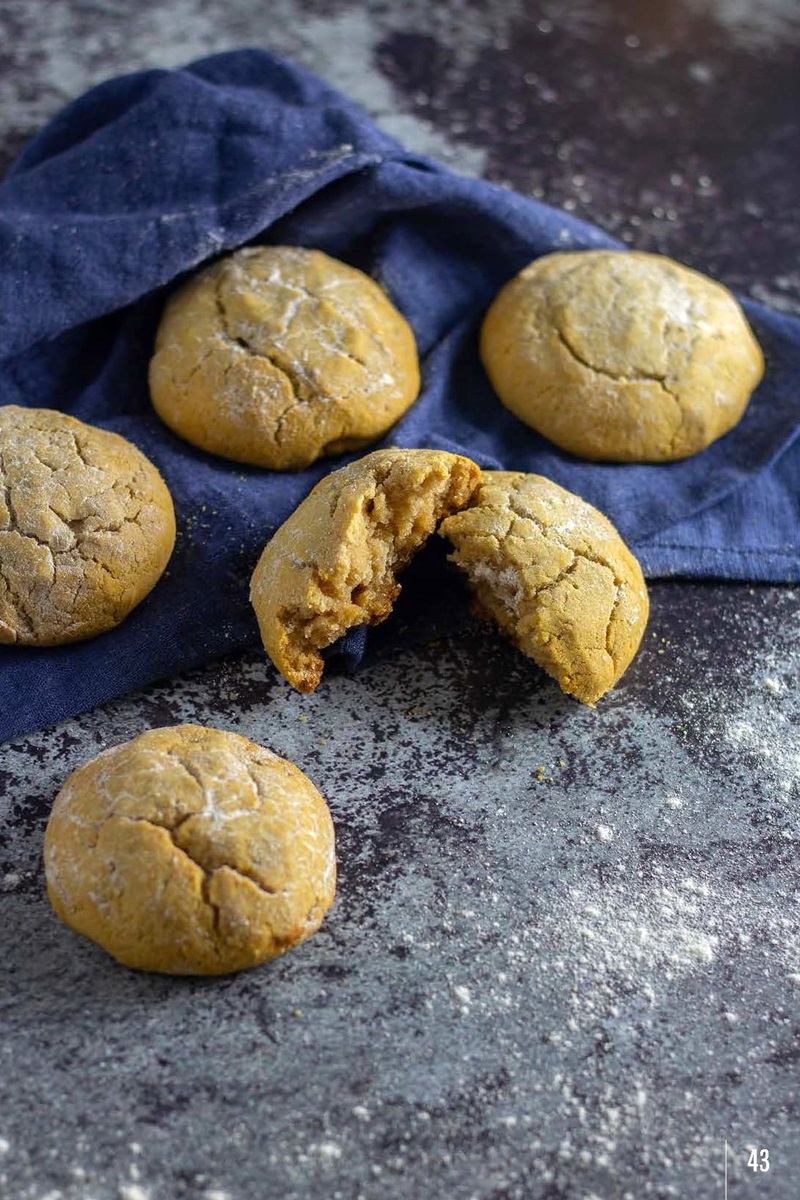
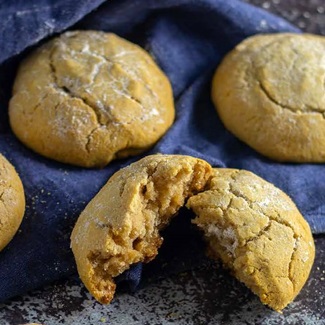
- Let cool off for a couple of minutes and enjoy. Feel free to use a bit of cassava flour to dust the top of the biscuits, but this step is optional. They taste best fresh out of the oven. But keep in mind that before they are cooled off they are more crumbly in their texture.
- Make sure the sparkling water is fresh with a lot of bubbles in it. This is for making the biscuit s fluffy.
- Save the egg yolk and add it to an omelette.
- These biscuits are a great base to make croutons. Simply slice them into dice and roast for 20 minutes on 300°F in the oven or until completely dry. You could also add a bit oil of your choice or lard and herbs and salt.
This recipe is reprinted with permissions from the cookbook Enjoy by Annika Schimmer.
More Paleo-Friendly, Nut-Free Recipes
Moroccan Carrot Salad
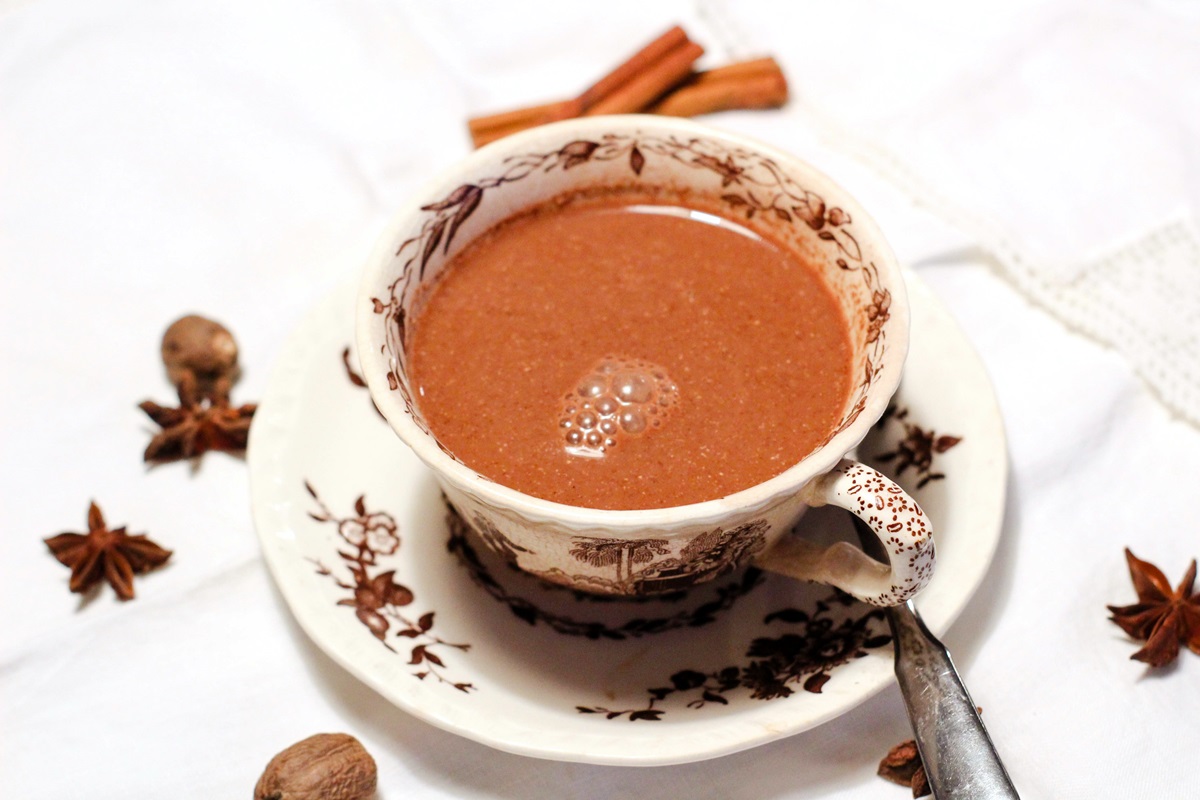
Mocha Spice Tea
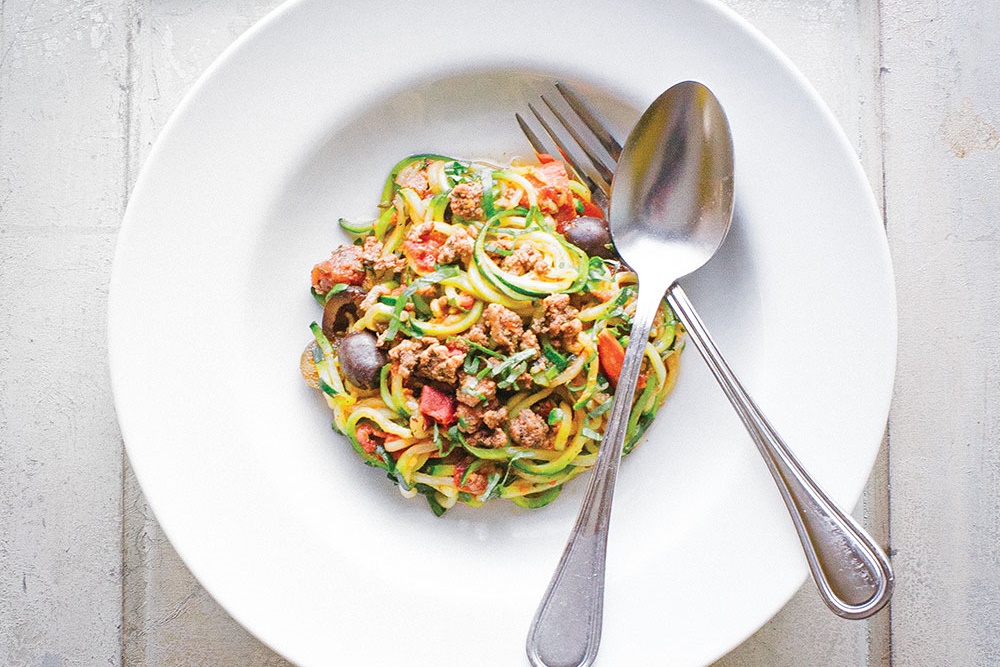
Pizza Zoodles
2 Comments
These are so yummy. However, I’ve made these twice, thinking I mis-counted ingredients in the first batch because the dough never got firm enough to work with my hands. Second time, same thing. I worked it for a while, thinking I just needed patience. It’s more the consistency of waffle batter. What am I doing wrong?
Hi Hannah, I’m glad they are working out anyway, but I’m not sure why the dough is wet. I double checked the recipe against the book, and I didn’t spot any errors in the reprint. I can’t say for sure if the author made any errors, but usually the recipe is solid once it hits the cookbook. For a firmer dough, I would personally add the sparkling water only as needed when you are combining the dough. So I would mix all ingredients, except for the water, as directed, but then add the water until it is workable and not too dry. I would expect the dough to be a little sticky. Again, this isn’t one of my personal recipes, but that trick might help!