Do you think granola requires hours of prep and slow baking time? It is delicious when prepared that way, but my chocolate-covered stovetop granola is much faster, and still quite scrumptious! It has a wonderful crunch that really satisfies as a snack. And it can be made allergy-friendly!
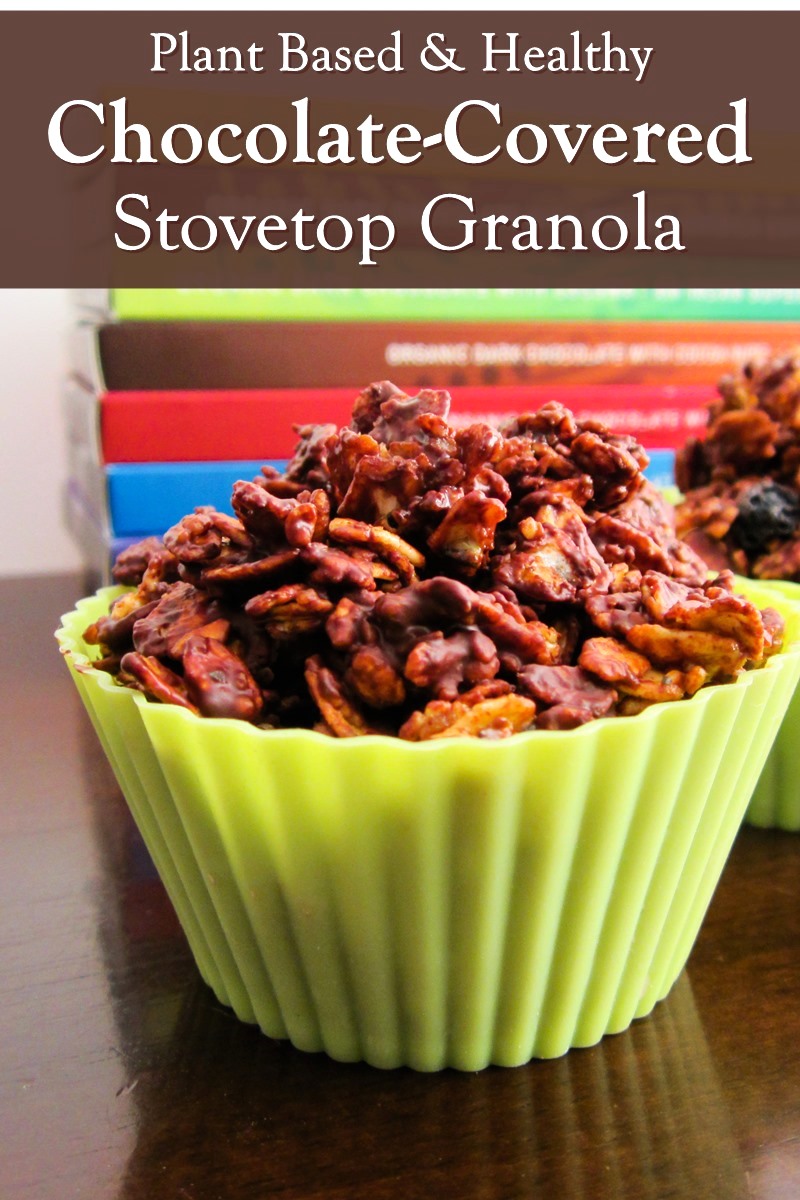
Chocolate-Covered Stovetop Granola is a Crunchy Plant-Based Snack
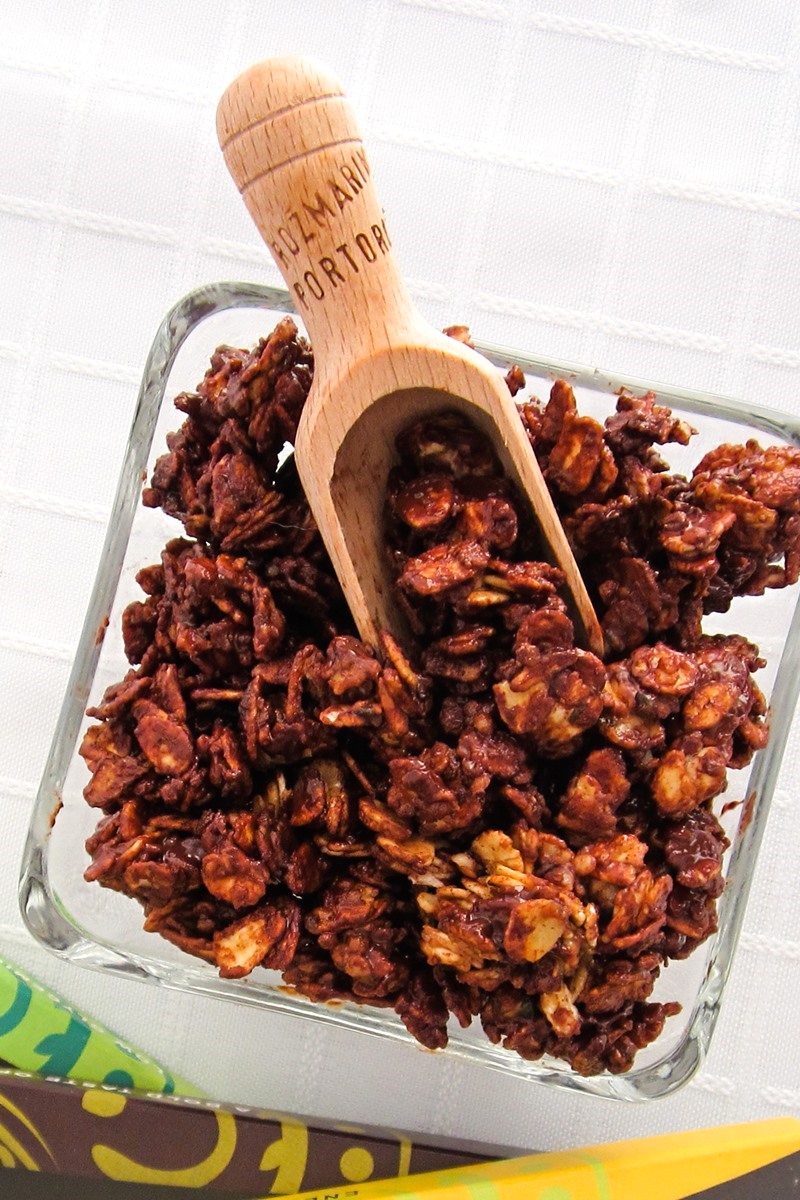
I started making stovetop granola many years ago. It’s small batch, which is great for our household, and can be whipped up right when I need it. But coating it in dairy-free chocolate takes this into the sweet snack or healthy dessert category. It’s kind of like chocolate bark meets granola, and it’s delicious.
As mentioned in the recipe, I like to chill this granola snack mix in the freezer for a cool crunch. It also keeps it fresh, and prevents the chocolate from melting at all on warm days. That said, you can pack it along. It is great in lunch boxes, and can be a “school-safe” treat. For allergen-free, I typically use Enjoy Life Chocolate.
Special Diet Notes: Chocolate-Covered Stovetop Granola
By ingredients, this recipe is dairy-free / non-dairy, egg-free, gluten-free, nut-free, peanut-free, soy-free, optionally vegan, plant-based, optionally paleo, and vegetarian. Just be sure to choose the dairy-free chocolate that suits your dietary needs.
- 2 tablespoons maple syrup, honey, or brown rice syrup
- 1 tablespoon melted coconut oil
- ½ teaspoon vanilla extract
- 5 to 10 drops vanilla stevia, to taste
- Big pinch salt
- 1 cup rolled oats (certified gluten-free if needed)
- 2 tablespoons unsweetened shredded coconut
- 3 tablespoons dried blueberries (or berries of choice)
- 2 ounces dairy-free dark chocolate
- In a small bowl, whisk together the sweetener, oil, vanilla, stevia, and salt.
- Heat a non-stick skillet over medium heat and line a baking sheet with parchment paper.
- Add the oats to the skillet, and toast, stirring often, for about 5 minutes, or until they just lightly brown and are fragrant. Add the coconut and cook and stir for just 20 seconds. Remove from the heat and immediately stir in the coconut oil mixture until fully combined.
- Pour the mixture out onto the prepared baking sheet, immediately add the berries and chocolate, and stir until thoroughly combined. Roughly flatten the mixture, and let it sit to harden. If you can't wait, place it in the refrigerator or freezer to hasten the process.
- Break it up into smaller pieces, and store in an airtight container at room temperature or in the freezer. Storing it in the freezer preserves the freshness and gives it a firmer, crunchier texture.
For More Dairy-Free Recipes, Get Eat Dairy Free!
9 Comments
Pingback: Homemade Dairy-Free Peppermint Patties Recipe
Pingback: Pascha Chocolate Bars Review (Allergy-Friendly) - Go Dairy Free
Pingback: Starbucks® Copycat Paleo Pumpkin Scones, Grain-free Protein Bars, and More! - Whole New Mom
Yum! You have become the go-to chocolate queen in my eyes, Alisa!
I love it when you make recipes like these Alisa! So simple but soooooo good! I think my kiddies would love these.
Thanks Maggie!
You know I love my super foods! This looks INCREDIBLE! 🙂
This looks fabulous! Love that this recipe is so quick and easy, it would be the perfect afternoon snack.
Pingback: Pure Chocolate Wisdom: Loving Lucuma, Maca My Day, and the Java Renaissance - Go Dairy Free