When I was a new parent, I wondered why other parents enthusiastically celebrated minor holidays with their children. It seemed like so much unnecessary work! Christmas and birthdays were enough, I thought. Then my children grew old enough to be sad when the Christmas decorations were put away. All that stretched before us was a long, cold winter. Suddenly Valentine decorations, St. Patrick’s Day green-colored treats, and, yes, even dairy-free Groundhog Day Cookies, made sense. As my mother once said, these little celebrations “help the calendar go around.”
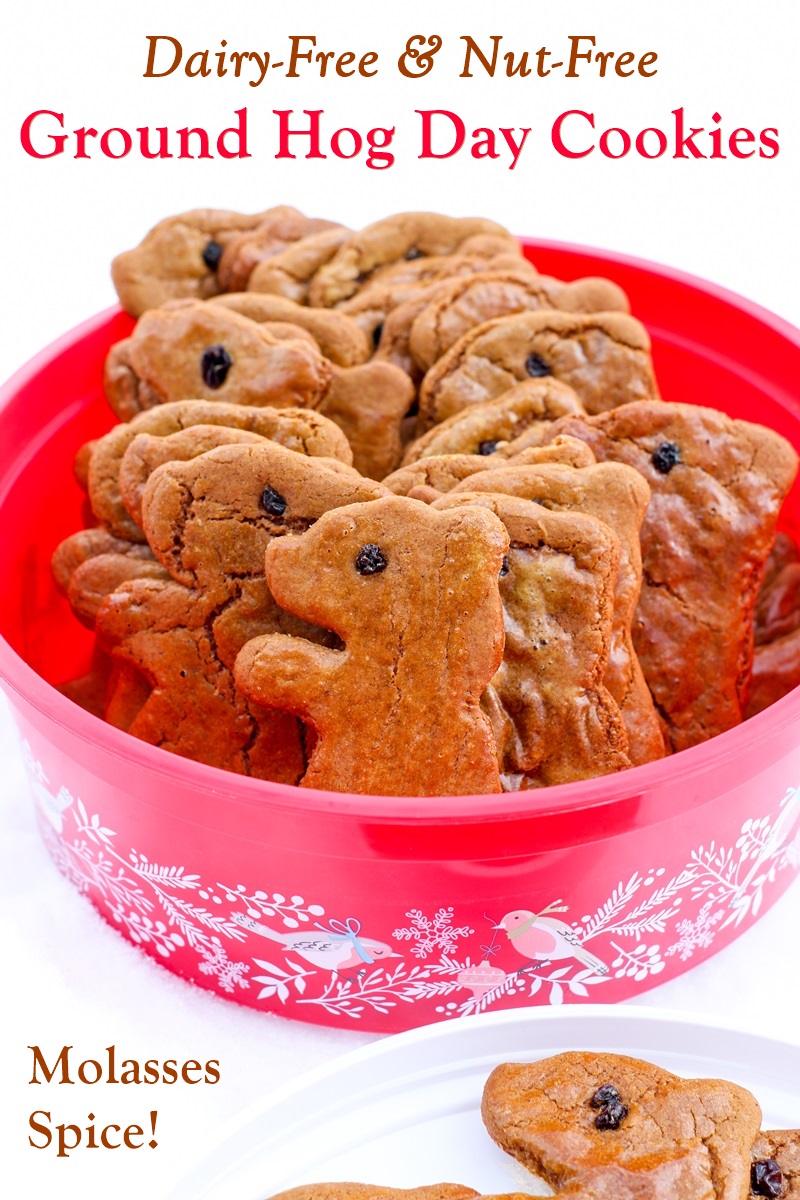
Dairy-Free Groundhog Day Cookies to Make Punxsutawney Proud
Being a Pennsylvanian, I’ve always had a soft spot for Groundhog Day, which has been an official celebration here since 1887. My affection for the holiday only grew when it became the birthday of one of my favorite people. I thought it would be fun to find a groundhog-themed treat to send in for school birthday celebrations.

![]() When my dad worked in Harrisburg, the capital of Pennsylvania, he often brought home groundhog-shaped spice cookies in February. They had dairy, of course. I wanted to track down the recipe so I could make dairy-free groundhog cookies. An online search produced the recipe on The Punxsutawney Groundhog Club website.
When my dad worked in Harrisburg, the capital of Pennsylvania, he often brought home groundhog-shaped spice cookies in February. They had dairy, of course. I wanted to track down the recipe so I could make dairy-free groundhog cookies. An online search produced the recipe on The Punxsutawney Groundhog Club website.
The club also sells groundhog-shaped cookie cutters. (I also found the cookie cutter on Amazon. It costs a little more, but is perfect for quick Prime shipping!)

Kids Can Help Make these Dairy-Free Groundhog Day Cookies
Katherine and I followed their recipe and were able to recreate the cookies I remembered. The original recipe recommends rolling the dough between sheets of plastic wrap. We are providing alternate directions for rolling and cutting the cookies with floured surfaces because that worked better for us.
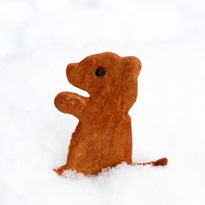
Children can help mix the dough, cut out the groundhog shapes, and put on the currant eyes. Because the dough is very sticky and fragile, it is better for adults or teens to handle rolling the dough and moving the cookies to the cutting board. I hope you and your family have fun making these cookies during the long winter days.

Special Diet Notes: Dairy-Free Groundhog Day Cookies
By ingredients, this recipe is dairy-free / non-dairy, nut-free, peanut-free, optionally soy-free, and vegetarian.
For egg-free and vegan, you might just want to omit the egg yolk. It’s a rather wet dough, and we think it might work well without a substitution. But we haven’t tested this yet – let us know if you do! If preferred, you can consult Alisa’s Egg Substitute guide. You would want to use just 1 tablespoon (total) of an egg replacer for the egg yolk.
- 2 cups all-purpose flour
- 1½ teaspoons ground cinnamon
- 1 teaspoon ground ginger
- 1 teaspoon ground cloves
- 1 teaspoon baking powder
- ½ teaspoon baking soda
- ½ teaspoon salt
- ½ cup softened dairy-free buttery spread (we used Smart Balance)
- 1 cup sugar
- ½ cup molasses
- 1 egg yolk (see Dietary Notes above for egg-free)
- 1 egg, lightly beaten, for glaze (can omit for egg-free)
- Currants or raisins, for decorating
- In a medium bowl, whisk together the flour, cinnamon, ginger, cloves, baking powder, baking soda, and salt.
- In a large mixing bowl, cream the dairy-free buttery spread and the sugar with a mixer until fluffy. Add the molasses and the egg yolk and mix to combine. Gradually add the flour mixture and mix well.
- Form the dough into a ball, and wrap it in plastic wrap. It is a very sticky dough. Refrigerate the dough overnight or up to several days. The dough can be frozen to use later.
- When you are ready to bake, preheat your oven to 350 degrees.
- Flour a flat surface and rolling pin. Roll the dough out to ⅛-inch thickness. Thicker dough results in cookies that spread too much and don't hold their shape. (The original recipe says to place small amounts of dough on a sheet of plastic wrap, and cover with plastic wrap before rolling. We had better luck flouring a cutting board and the rolling pin before rolling. Choose whichever method works best for you. Either way, the dough is very sticky and fragile.)
- Cut out the cookies with a lightly floured cutter. Use a butter knife or a thin spatula to help release the cookies from the rolling surface, and place the cookies on a greased baking sheet.
- Brush the cookies with the beaten egg, if using, and decorate each cookie with a currant or raisin eye.
- Repeat steps 5 through 7 until all the dough is used.
- Bake for 8 to 10 minutes, or until the edges are set and slightly browned.
- Let the cookies cool for a few minutes on the baking sheet before removing them to a wire rack to cool completely.
- Store the cookies in an airtight container for up to 1 week.
More Delicious Dairy-Free Winter Fun
Melting Snowman Cookies

How to Host a Dairy-Free Winter Birthday Party

Winter Wonderland Olive Toast

For More Family-Friendly Recipes, Get Go Dairy Free!