For years, I was in the dark about the best way to melt chocolate. I assumed the double-boiler was king, but it was such a pain, and I don’t have the best equipment for that set-up. So I often reverted to the microwave method, knowing full-well the risks I was taking. Consequently, I have occasionally suffered losses of good quality chocolate due to scorching. But then I received a lesson from some chocolate experts. They showed me how to melt chocolate like a pro. And no, you don’t need a double broiler!
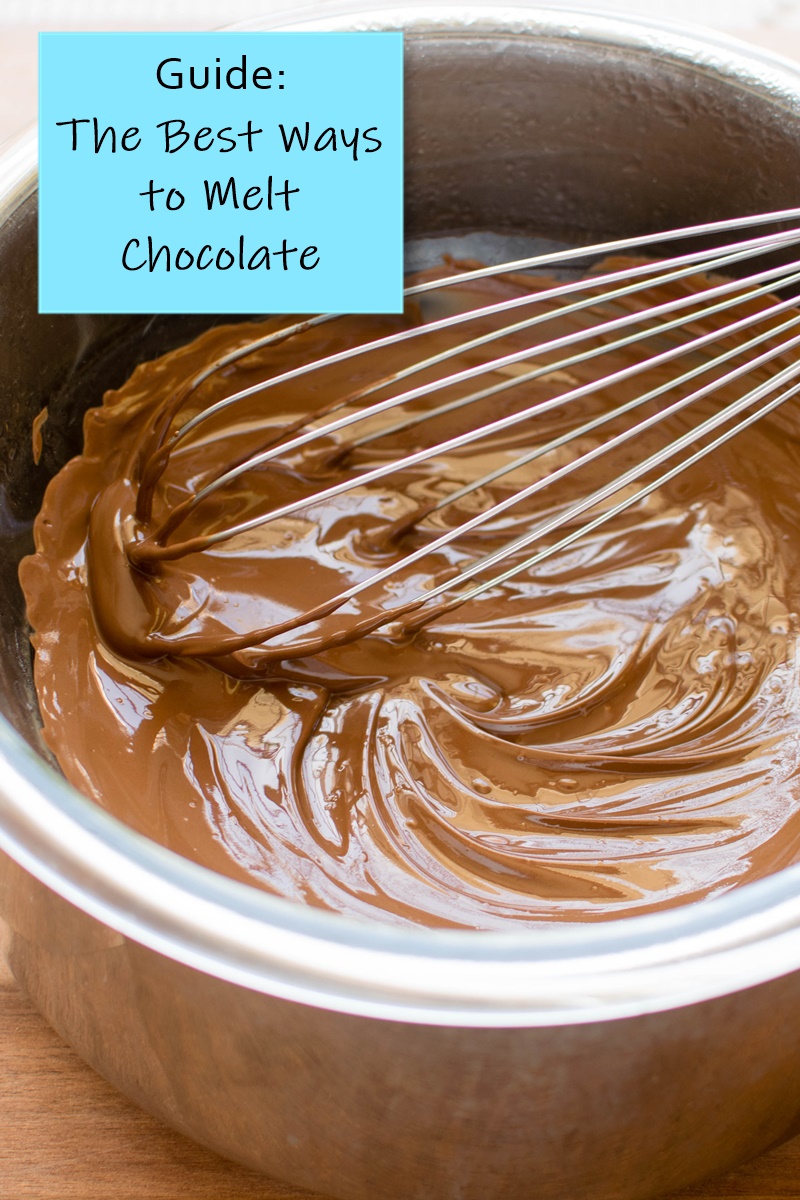
The Best Way to Melt Chocolate .. and All The Other Ways
This guide on the how to melt chocolate is modified from my book, Go Dairy Free: The Guide and Cookbook. The following includes instructions for several methods, the pros and cons, and the best method for melting chocolate. It’s actually one of the easiest ways, too, and is ideal for dipping.
Cheater: The Microwave
Place chopped chocolate or chocolate chips in a microwave-safe bowl. Microwave on HIGH, uncovered, for 60 seconds for semisweet and dark chocolate. If melting white chocolate or a milky chocolate, start with just 20 or 30 seconds, respectively. Whisk the chocolate vigorously. If not completely melted, microwave on HIGH for 15 seconds. Whisk vigorously. If not yet melted, repeat the heating and whisking in 15 second intervals until just melted. Do not overheat – not even a little.
Pros: Quick; No specialty equipment needed.
Cons: High risk of scorching the chocolate; Can degrade the chocolate; May need to reheat if using the chocolate for dipping.
Traditional: Double Boiler
Place water in the bottom of the double boiler so the top of the water is 1/2 inch below the upper pan. Place chopped chocolate or chocolate chips in the upper pan, and then place the double boiler over low heat. Stir the chocolate constantly until it is melted. The water in the bottom of the double boiler should simmer but not come to boiling while the chocolate is melting.
Pros: Allows for a slower melt to prevent scorching and degradation.
Cons: Need specialty equipment; hard to make a makeshift double broiler where the top pan doesn’t touch the water; can be challenging to keep the stove-top at just the right temperature, particularly with electric.
Tempered: Heated Creamy Bath
This is a standard way of melting chocolate when making truffles or fudge. Place finely chopped chocolate or chocolate chips in a heat-safe bowl. Heat coconut cream or milk until hot, but not yet boiling, and pour over the chocolate. Let sit for 30 seconds. Whisk vigorously until the chocolate is fully melted and incorporated.
Pros: Lower likelihood of scorching than The Microwave method.
Cons: Chocolate pieces have to be very small, or it may not fully melt; Getting cream/milk to the perfect temperature can be finicky; Only suitable for recipes where the chocolate will be incorporated with a type of milk/cream.
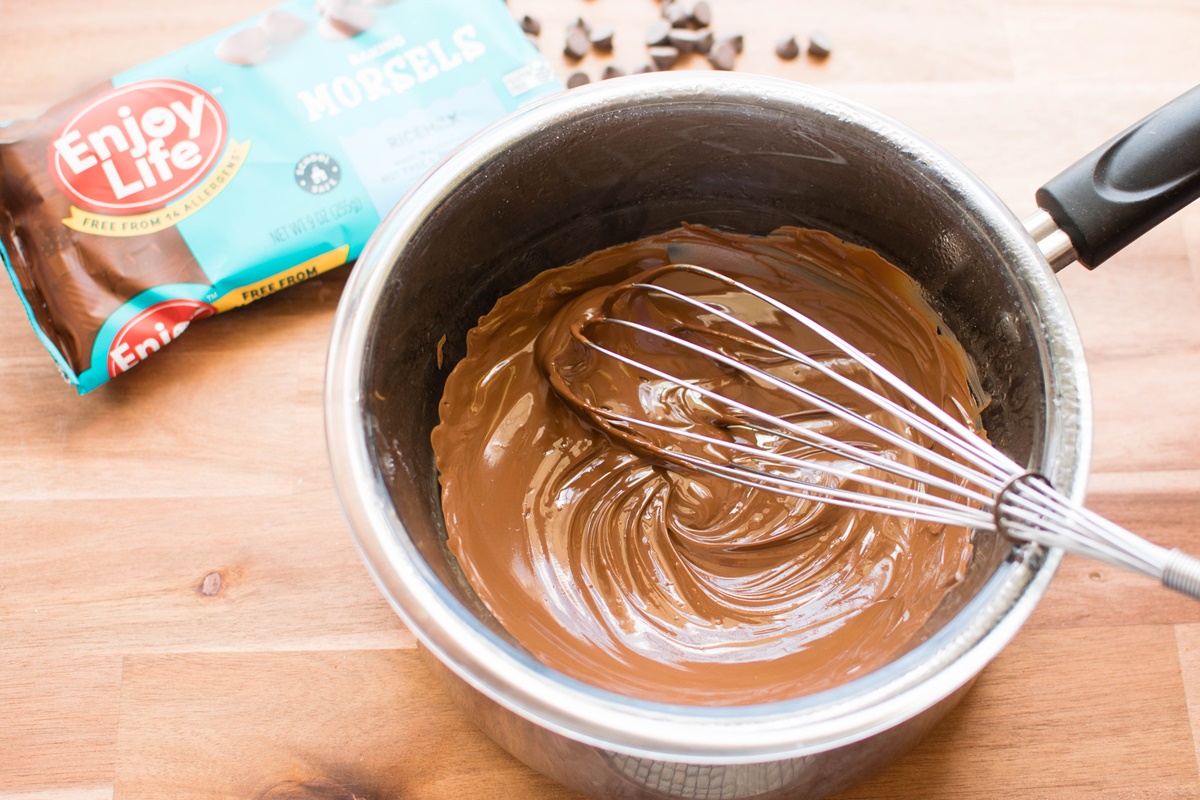
The Best Way: Counter Top Double Boiler
It isn’t to say that the above methods are wrong, but in my opinion, this is the best way to melt chocolate. Heat water to 125ºF to 150ºF (50-65ºC) either on the stovetop in your bottom saucepan or in an electric kettle (pour the heated water into your bottom pan or bowl). Kettles like this Cuisinart that can heat water to 150ºF exactly are priceless! Place chopped chocolate or chocolate chips in the top pan or a heatproof bowl, and place that pan or bowl right in the pan with water. Yes, it can touch the water – in fact, you want the water to go part way up the sides. Whisk as the chocolate melts. It will take just about 1 minute for the chocolate to melt completely.
Pros: Allows for a slower melt to prevent scorching and degradation; Keeps chocolate at a consistent melted temperature while dipping; Doesn’t require specialty equipment; Can be done on or off the stove-top, so you can use the melted chocolate in a better work space, if desired; Chocolate still melts relatively quickly. You can whisk in more chocolate as needed and simply stir or whisk; it stays warm enough to continue melting new chocolate.
Cons: None that I’ve found!
Dip Tip: If dipping truffles or other goodies in the chocolate, leave the set-up as is while you dip. The water will stay warm enough to keep the chocolate at the perfect, melted temperature.
FAQs for Melting Dairy-Free Chocolate
I tried to cover the options thoroughly in the information above, but there are still a few commonly asked questions that I’d like to cover!
Does Dairy-Free Chocolate Melt Differently than Regular Chocolate?
Technically, chocolate is a dairy-free food by nature. But companies add dairy to quite a few brands of chocolate bars and chocolate chips. Darker chocolates tend to take the longest to melt, and the ones higher in cocoa butter often have a thinner consistency once melted. On the other hand, dairy-free milk chocolate usually melts about 30% faster and is thicker. Dairy-free white chocolate brands vary quite a bit in thickness when melted, and they also tend to melt at different rates. That’s because there is more variation in the ingredients used to make dairy-free white chocolate. But I do find that everyday brands, like Enjoy Life, melt in half the time of semisweet chocolate and have a slightly thicker consistency.
Can I Just Melt Chocolate in a Saucepan or Pot on the Stovetop?
It’s tempting, but very risky. Direct contact with a very hot saucepan can easily scorch chocolate and seize up. Once seized, it looks un-melted and clumpy, but it’s actually past the point of melting.
How Can I Temper Dairy-Free Chocolate?
Tempering creates a glossy finish that’s great for coating truffles or other treats. Start with a good quality chocolate bar and finely chop it. Place two-thirds of the chopped chocolate in the top pan of a double broiler or the bowl (if using my counter-top method). Heat until the chocolate, stirring constantly, until it reaches 110ºF to 115ºF. Remove the top pan / bowl to a towel, and be careful not to get any water droplets in the chocolate. Cool the chocolate, while stirring, to 95ºF to 100ºF. Add the remaining one-third chopped chocolate and stir until melted. The chocolate should now be tempered and ready for coating or dipping!
My Dairy-Free Chocolate Isn’t Melting. What Can I Do?
Chocolate, even dairy-free chocolate, doesn’t take long to melt with high heat methods. If you microwaved it for more than 90 seconds or heated it directly in a saucepan, it’s likely seizing up. To fix this, add just a little bit of boiling water, 1 teaspoon to start, to the chocolate and whisk vigorously. This will help it melt, but it might have a burnt taste. If you are using a double broiler or my countertop double broiler method, make sure you have simmering water (not cool or warm water) and be patient. It can take a few minutes for the chocolate to melt.
Can I Melt Chocolate in the Oven?
I wouldn’t bake chocolate on its own. It will scorch quickly. But you can melt chocolate in a heat safe container in the oven set at 200ºF or lower. This takes longer, you still have to stir it regularly, and it’s more intensive on your utility bill, so I don’t recommend it.
How Can I Avoid Seizing Chocolate?
Too much heat causes chocolate to seize. There are a few ways to avoid it. First, don’t melt chocolate directly in a saucepan. It’s in direct contact with high heat. If you do use a saucepan, use extremely low heat and stir the chocolate constantly. Second, don’t heat it for too long in the microwave. Start with just 30 seconds and whisk vigorously. Then do shorter intervals, whisking in between. Stop once the chocolate is just barely fully melted. Third, keep the chocolate below 130°F. You can use a candy thermometer to test the temperature. Fourth, don’t allow any water droplets into your chocolate as you melt it. Boiling water can help recover seized chocolate, but drops of water or other liquids can cause the chocolate to seize initially.
For More of My Dairy-Free Tips, Get Go Dairy Free!
29 Comments
I’m making hot chocolate bombs and was told to add a dab of shortening and or dab of corn syrup? Is this a good idea?
Shortening works well, it will soften the shell a touch so it isn’t too brittle.
This Counter top method is AMAZING!!!! 🙌🏻 🙌🏻 🙌🏻 I have always done the stove top method and it ends up being frustrating every time. The chocolate overheats and any cake bits start to cook in the bottom. It’s a mess!!! This way made baking and dipping my cake balls a MUCH more pleasant experience!! I will now look forward to and enjoy making my cake balls instead of it feeling like a chore!! THANK YOU!!!!!!!!!! 💕💕💕💕
So glad you like this method as much as I do Kristen! It does make dipping SO much easier.
Pingback: Homemade White Chocolate Crispy Bars (Yes, Dairy-Free!)
Thanks for the chocolate melting tips. Love your ideal. Worked great.
Fabulous – so glad it helped!!
Pingback: Dairy-Free Biscotti: A Chocolate-Dipped Gold Standard Recipe
Pingback: Easter Rice Crispy Treats: Edible Nests and Chocolate-Dipped Eggs
Pingback: Mummy Cookies: Super-Easy Halloween Treat for All!
Pingback: Vegan Chocolate Ice Cream Recipe (Dairy-Free & Creamy!)
Pingback: Smores Rice Crispy Treats - Go Dairy Free
Pingback: Christmas Crack: Peppermint Pretzel Thins | aMother Adventure
Pingback: Chocolate Hazelnut Butter 5-Ingredient Fudge Recipe
Pingback: Vegan Cheesecake-Stuffed Strawberries dipped in Chocolate
Thanks for sharing these 4 different methods Alisa, I was only familiar with 2.
I usually use the microwave method. I find that if I melt it just until it’s mostly melted but not quite and whisk it the rest of the way it comes out perfect every time. I love your “best way” version though and will definitely give that a try!
This is really great! I mostly use the bowls and pot of water to melt chocolate but if I’m in a rush will go the microwave route. It’s nice that you noted the results, this is a great reference. Shared.
Thanks Joanie!
Pingback: Strawberries 'n Cream Chocolate Cups Recipe
You’re right. Each method has it’s own place when it’s best used. I definitely used the microwave method throughout college when I had near no kitchen equipment.
Yes, I actually had to just use the microwave method as I didn’t have any clean bowls for the other one! With caution, the microwave method works great, but alas, I have scorched a few bowls of good chocolate that way over the years!
if I am using it to coat truffles, I generally use the double boiler method; honestly? if I am melting it for another reason – to add to a recipe, to cover bars or cookies, to shove in my mouth – I just chop and heat at lowest heat in my tiny saucepan – it works! 🙂
now you have me craving chocolate…
I’m all about cheater methods 🙂 I was just so excited to learn that the double broiler method can be done over low heat, off the stove, with the bowl immersed – no trickiness and able to work with the chocolate on the counter as I coat things!
Pingback: Homemade Dairy-Free Peppermint Patties Recipe
Pingback: Chocolate Pumpkin Butter Cups Recipe (Dairy-Free)
I have found that by adding a very small amount of liquid to the chocolate (I love lemon with chocolate so it’s usually a couple of tablespoons of lemon juice) and making sure to heat no longer than 30 seconds at a go, I can get perfectly melted chocolate every time without degrading or “seizing up.”
Adding liquid when using other methods would probably help as well. A lot of issues with melting chocolate occur when liquid gets in accidentally during the process and the chocolate turns rock hard. Adding a little liquid in the beginning prevents that.
Thank you Linda – this is a great tip!
HI Linda, I agree that it needs a little liquid, so I used a touch of maple syrup. Mmmmmm!