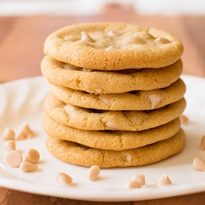
You know you’ve made a good recipe when no one can keep their hands out of the cookie jar. And everyone went back for more of these dairy-free butterscotch cookies. Each tender morsel has that perfect crispy-chewy-doughy ratio and a rich, lightly buttery taste that melds addictively with dairy-free butterscotch chips.
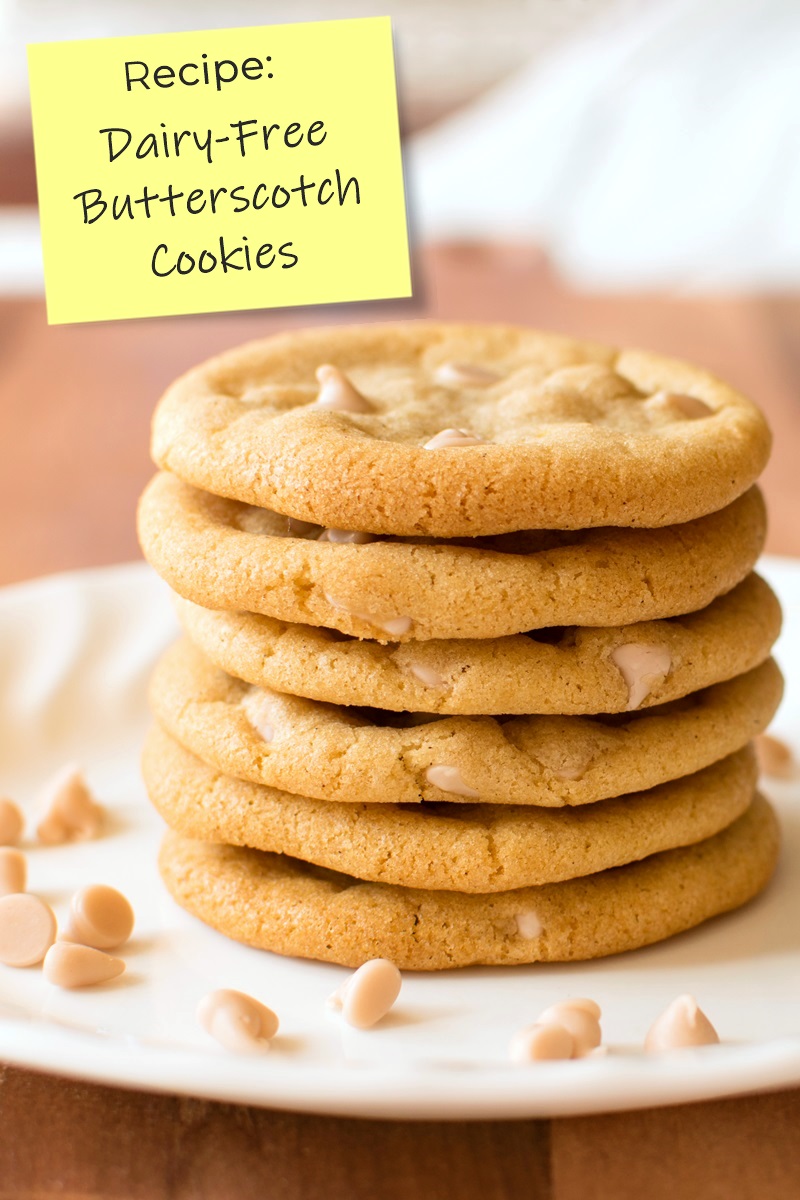
The Best Dairy-Free Butterscotch Cookies
These dairy-free butterscotch cookies were a happy accident. I was working on my oatmeal scotchies recipe, and added too much flour by mistake. I rolled with it, skipped the oats, and the results were near perfect! A few more little changes, and this recipe hit the sweet spot for taste and texture. As I tested, I gathered some additional recipe tips and options, which I’ve included in the FAQs below.
Can I Use All Butter Alternative instead of Shortening?
I don’t personally recommend it with this particular recipe. Using just butter alternative could cause the cookies to spread too much, and they might become burnt and greasy around the edges. I use just enough butter alternative to get that buttery taste, but balance it with non-hydrogenated shortening for the best texture. If you do opt to use all butter alternative, test a small batch in the oven. If they spread too much, add more flour to help firm up the dough, or try the oat option in the recipe.
Can I Use All Shortening instead of Butter Alternative?
You can! You might not need to refrigerate the dough if using all shortening. With all shortening, these dairy-free butterscotch cookies have more of a bakery style taste, which I also love, but they aren’t quite as buttery. You can use butter-flavored shortening if you like. I like all-shortening when making the oat version. The dough does become very thick though! With all shortening and the oat modifications, I end up working the dough with my hands, and flatten the dough balls on the baking sheet.
What Butter Alternative and Shortening Do You Recommend?
I always test with Spectrum shortening, which is non-hydrogenated and allergy-friendly. For the butter alternative, I’ve been using Country Crock buttery sticks lately. They are affordable and easy to find, perform well, and are on the salty side. Brands like Miyoko’s will bake up taller (you can flatten the cookies more and even use 1/2 butter alternative and 1/2 shortening) and will be less salty. Most buttery stick brands that state “good for baking” on them should perform well. You can see my Best Dairy-Free Butter for Baking Comparison to see how they differ.
Can I Substitute Coconut Oil Instead?
This particular recipe won’t be optimal with coconut oil. It would cause a thinner dough that sets up solid when refrigerated and tends to spread more when baked. If you want to bake dairy-free butterscotch cookies with oil, I recommend my classic dairy-free chocolate chip cookies recipe instead. You can substitute butterscotch chips for the chocolate chips.
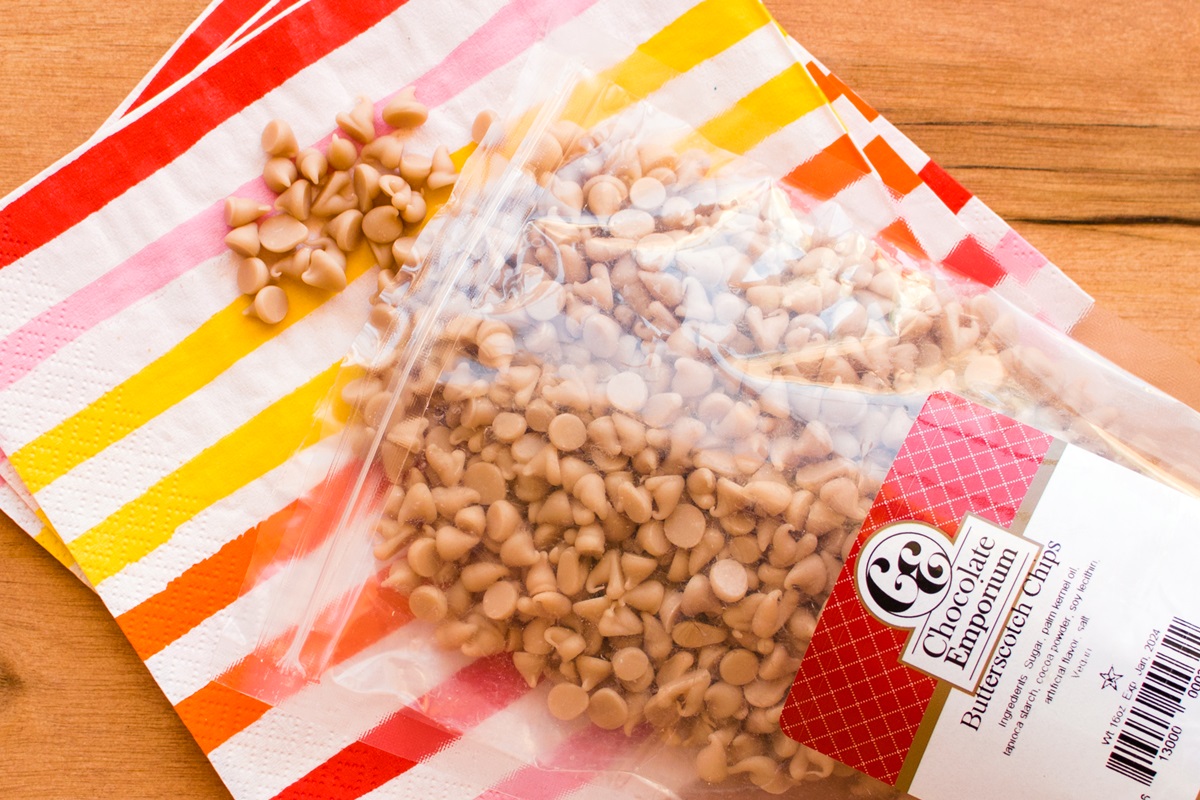
Where Can I Get Dairy-Free Butterscotch Chips?
The ones I used are from Chocolate Emporium, a dairy-free, gluten-free, and kosher parve chocolatier. They sell online exclusively, but the dairy-free butterscotch chips are a good price. For bakeries and retailers, they also offer bulk discounts, including cases and pallets.
Can I Make the Dough Ahead?
You can definitely make the dough a day or two ahead and keep it in the refrigerator in an airtight container. After more than an hour, it will set up firmly. You might need to let it warm at room temperature a little in order to scoop and shape the dough. Also, when it’s refrigerated for longer, the cookies won’t spread as much. I recommend flattening the dough rounds a bit more before baking.
Can These Cookies be Frozen?
Yes, you can freeze the cookies or the dough! I personally like to bake the dairy-free butterscotch cookies and then freeze them. They’re great straight out of the freezer! If you want to freeze the dough, scoop the dough by the heaping tablespoon onto parchment paper (they can be close, but not touching). Freeze the dough scoops. Once solid, put them in an airtight freezer bag in the freezer. It helps to let them come to room temperature and flatten them before baking. They won’t spread as much once frozen.
My Cookies Spread too Much. What Happened?
You didn’t use all butter alternative, right? Assuming you followed the recipe exactly, there are three issues that could have happened. One is that your baking soda has lost potency. To test it, place a little of your baking soda in a bowl and add a splash of vinegar. It should fizz and bubble vigorously and immediately. If it doesn’t, you need new baking soda! The second possibility is the fats you are using. Some butter alternatives just aren’t great for baking, and can cause odd results. Finally, if you are at high altitude, cookies can be finicky. They will often spread too much and can have a greasy look. Add a little more flour to your dough to help prevent excessive spreading. Using all shortening can also help to mitigate spread.
My Cookies Look Puffy. What Happened?
It sounds like you baked them a little long or your oven was running hot. These cookies do puff up, but then settle in as they cool. If you bake them for longer, they will set up taller and be more of a soft chewy cookie. I like my dairy-free butterscotch cookies crisp and chewy on the edges, but soft, chewy, and a touch doughy in the middle.
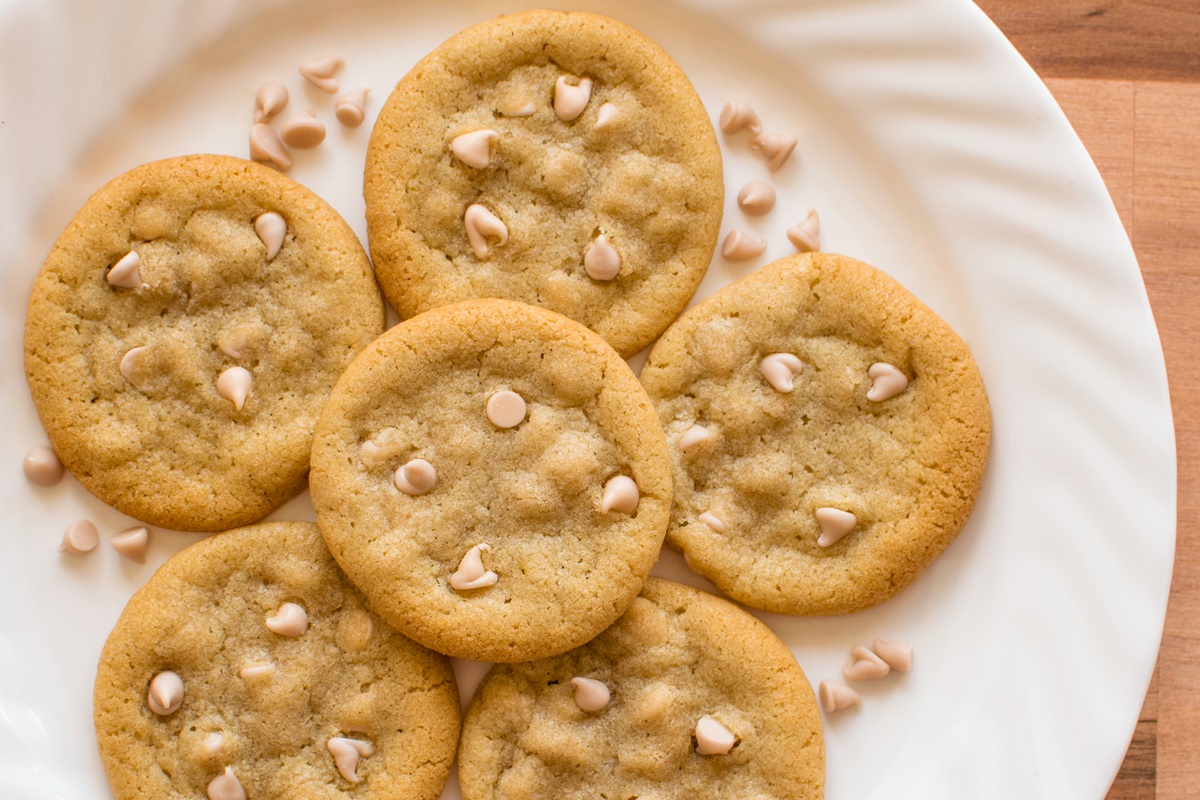
How Do You Get the Cookies to Look so Perfect?
Yes, people do ask this, which makes me blush, since I’m not a natural born artisan. I do a few “beauty” cheats. First, I refrigerate the dough, and scoop it by the level tablespoon to ensure each cookie is as close to the same size as possible. I then roll the dough pieces into balls, flatten them gently and just slightly on the baking sheet, and shape them a bit to keep them even and round. I also mix just 1 cup of the butterscotch chips into the dough, and press the remaining 1/4 cup of chips into the tops of the slightly flattened cookie dough (about 3 to 4 chips per cookie).
Special Diet Notes: Butterscotch Cookies
By ingredients, this recipe is dairy-free / non-dairy, nut-free, peanut-free, soy-free, and vegetarian. Just be sure to use the shortening, butter alternative, and dairy-free butterscotch chips that suit your dietary needs.
For gluten-free dairy-free butterscotch cookies, try substituting your favorite grain-based gluten-free flour blend. I have not tested these cookies without gluten, but a good friend swears by King Arthur Measure for Measure Gluten-Free Flour as an even swap in cookies. Do not substitute a single grain-free flour, like coconut flour or a nut flour. They will not perform the same.
For egg-free and vegan options, see my Egg Substitute Guide. Keep in mind that I have not tested this dairy-free butterscotch cookies recipe without eggs. If I was testing it with an egg substitute, I might increase the flour slightly and/or use all shortening. Thicker doughs work better with egg-free cookies. If you confuse eggs with dairy, you’re not alone! See this post: Are Eggs Dairy?
- 2¾ cups all-purpose flour
- 1 teaspoon baking soda
- ¾ teaspoon salt
- ½ teaspoon ground cinnamon
- 1 cup packed brown sugar
- ¾ cup sugar
- ¾ cup shortening (I use Spectrum)
- ¼ cup dairy-free buttery stick (1/2 stick)
- 1 teaspoon vanilla extract
- 2 eggs
- 1¼ cups dairy-free butterscotch chips, or as desired (I used Chocolate Emporium)
- Preheat your oven to 350°F and line a baking sheet with parchment paper.
- In a large bowl, whisk together the flour, baking soda, salt, and cinnamon.
- In a mixing bowl, mix together the sugars, shortening, butter alternative, and vanilla until somewhat creamy. Add the eggs, and mix until creamy. Add the flour mixture and beat until the dough is combined.
- Fold in the butterscotch chips.
- Refrigerate the dough for 30 minutes to an hour.
- Scoop the dough by the level tablespoon onto your prepared baking sheet, about 2 inches apart. They will spread a bit. If desired, roll the dough pieces into rounds, and slightly flatten them onto the parchment.
- Bake the cookies for about 10 to 11 minutes, or until golden around the edges and no longer look wet on top. They will look puffed, but deflate as they cool for a slightly doughy and chewy middle.
- Let the cookies cool for 5 minutes on the sheet before removing them to a wire rack to cool completely.
For More Classic Dairy-Free Recipes, Get Go Dairy Free!